Well, I just got the Elgato S60+ which lets my Sony A7R3 push 4K resolution output, but today, I finally got my Shure V83F microphone working. Hooking it up is actually pretty confusing since there are so many different ways to do it, but the short notes are:
- Dummy charger. You do want one of these, with the USB 2.0 settings battery life isn’t a problem but pushing out 4K is.
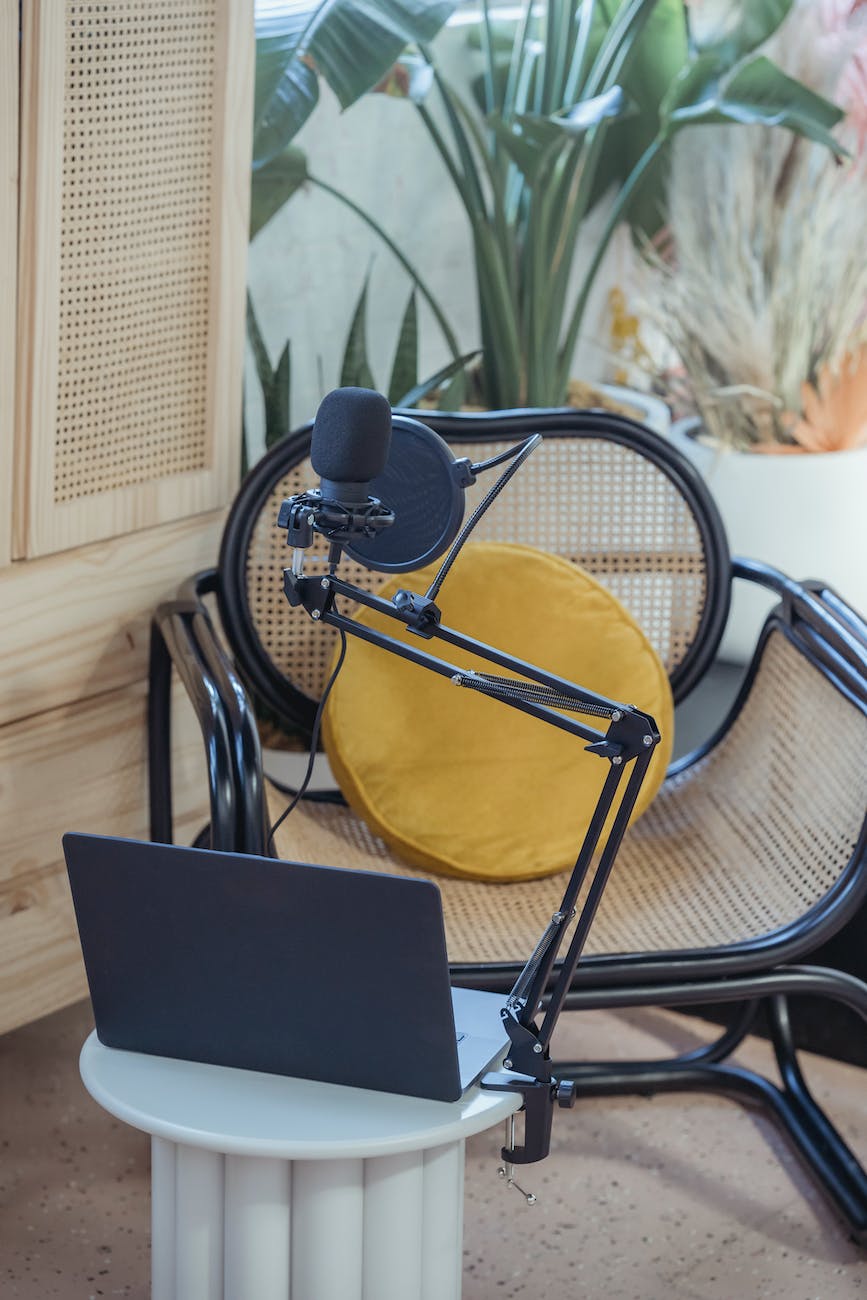
- Sony A7R3 Setup. The main things to realize are that the Shure V83F has a red-colored socket of 3.5 mm which is the microphone output. There are two 3.5 mm jacks on the Sony, the one that is nearest to the screen is the headphone output and the one that is nearer to the lens on the left side is the microphone input. Make sure that the Sony is set to Movie mode by the way, if you set it any other way, then you won’t get the output of the sensor. This by the way is running in cropped mode, so you are just getting the center pixels. That makes your 55mm lens, more like a 75mm, so you will to set up pretty far away (hence the need for the Shure VP83F). Then you just need a mini-HDMI connector that goes to the Elgato S60+ into the HDMI that is *not* labeled Output, it’s on the same side as the USB-C connector
- Shure VP83F. Besides doing, this, you will have to turn on the Shure VP83F. This is done not with the red button, but with the plain button on the left. The joystick lets you select whether you want bass roll-off or not but the most important setting is the audio input volume at the upper right. In our quiet room, I had to turn this way down to 20 out of 60. And also on the Sony, i had to turn down the audio input gain as well to 20. You want to set this as high as possible without overloading the inputs of OBS (see below). But the basic trick is to add an Audio Input and then without any filters, you should see it go into the yellow but not overload into the bright red (above 0db, OBS will just show a bright red bar instead of the scale to remind you you have overloaded things.
Setting up the filters for Shure VF83F and MacBook Pro
There are a bunch of different opinions about how to set the audio up, but I found the YouTuber, The video Nerd to have the best one. You can listen to it below, but here are the short notes:
- Now start OBS and add a new Audio Input and you should see one of the options as
Elgato S60+. Add it and then click on the advanced settings in the microphone area at the lower center and selectMonitor and Outputthis let’s you hear the microphone output in your headphones so you know if things are going wrong. YOu can do the same with the MacBook Pro microphone. Now whatever scenes you create, these settings will stick. - Now you want to have a gain stage in those cases where even if you set the microphone to the maximum, you may need this additional digital gain. In my case, the microphones I have I don’t really need at this stage, but you can have them there for completeness. You basically want the normal volume to end up mainly in the yellow and maybe a little in the red. For the MacBook, you have direct input and found that setting to the maximum was just about perfect. I didn’t even need any gain when talking from a foot or so away. Set at 1 meter or so I needed about 2dB of gain
- The next stage to add is
Noise Suppression, I was shocked to see how good the RNN filtering is on the Mac, it really does eliminate nearly everything. - Now add the 3-band equalizer, most of the time you will want to increase the highs a little (2dB for me) to get more radio voice and turn down the mids (-3dB) for me. Because my voice is quite “thin”, I turned the bass way up (to sound more like @deon!) so I left it at +8dB, you just have to listen. I found that the MacBook Pro has quite a bit more bass boost, so I used the same treble and mids but the boost for bass I set at 3dB.
- The next step is tricky because you are not using any of the defaults, this is the Expander. First set the ratio of expansion to 3:1 and set the attack to 1 ms and release to 100 ms. The reason, you want these settings is that 3:1 is a mild amplification and the defaults cause a kind of “breathing”, the attack set at the default is too slow for a voice (fine for instruments) and the release needs to be longer so it doesn’t sound artificial. This is going to push up the softest sounds, so you need to whisper to tune this. Now you go to the output gain section and whisper as quietly as possible, turning up the gain until that whisper ends up in the upper yellow. Finally, you need to tune in when this kicks in. As you talk, turn the threshold up and up, and at some point, your voice will suddenly get quieter. This is because your whisper is at that dB, turn it down a little, and now the expander won’t kick in until that level. For my setup, this was for the Elgato -20dB and gain was 6dB, but this will vary. For the MacBook Pro microphone at 1 meter it was 9dB gain and -24dB threshold
- Next is the compressor. Again the defaults aren’t good for podcasts, set the ratio to 3:1, the Thresholds to 0dB and the attack at 1 ms and the release at 100 ms, and the output gain to 0 dB. What you do now is shout and you will see it overload, turn the threshold to the left until the shouting gets tamed. On this setup that was at -12dB for the Shure V83F and -8dB for the far MacBook Pro
- Finally for safety put in a Limiter, and set it at 0dB so that if you accidentally drop the mic for instance, you won’t exceed and clip the recording.


