Well this was some work, but we have the 1.2Gbe/35Mbps and I wanted to figure out a way to do this with my existing hardware, it turns out with some tricks to getting this to work right, but if you want to do something similar here are key tricks. I could have also gotten a new SB8211 which has a single 2.5Gbe port, but then I realized that since I already had a fancy Unifi Switch 48 with VLAN, I didn’t need to do that, I could just link aggregate. It’s pretty involved, but here are the notes for how to do this with the big gotcha that basically every time you need to reconfigure, you should probably just reboot the router to make sure it is passing IP addresses:
- Arris SB8200 LAG. You need flip the modem in the Link Aggregation mode. This is more complicated than it looks, you need to connect your laptop into one of the two ports. Then you need set a manual DHCP with an address in the 192.168.100.x range and then browse to https://192.168.100.1 which is the static IP address of the web administration panel for the modem. Then you go to Advanced and click Enable Link Aggregation Group. What this does is that it “bonds” the two ethernet ports, so that they together provide 2Gbe and allow up to 1.4Gbe from DOCSIS 3.1. You can tell that this is working if the second light from the top is lit as “blue” and then it has 2×2 channels with the channels being very wide. If it is green, it is using the older DOCSIS 3.0 standard and then it can bond 32×8 channels where each downstream channel is 6MHz wide and use 256-QAM to give you 42.88Mbps per channel. DOCSIS 3.1 on the other hand has much wider channels that can be 192MHz wide and uses higher encoding with 4096-QAM so you get 1.89Gbps per channel. That is why DOCSIS 3.1 modems are typically 2×2 channels. In the limit you can get up to 10Gbe on DOCSIS 3.1 with 5 channels which is pretty incredible. For the upstream channels, they have lower bandwidth, so more like 8.5Mbps upstream for DOCSIS 3.0 and 200Mbps for DOCSIS 3.1.
- Arris SB8200 DHCP problems with Unifi Dream Machine Pro. OK, this is one problem that I keep seeing particularly with the UniFi Dream Machine Pro. With our MacBook, if I plug the Ethernet jack into it, I would always see the new DHCP channels. So after you do the manual setup, change your MacBook to DHCP and it should an IP address handed out by Xfinity. They own a lot of ranges, but something like 24.x.x.x or 73.x.x.x is what I normally see. Note that this is a cable modem and not a router, so when you plug in you get the same IP addresses and it does not work to plug two different devices into the two Ethernet ports. There is a DHCP server inside the modem that gets the address from Comcast and then gives you that public IP address, so your machine is directly on the Xfinity network (make sure you have your firewalls up!). Also for some devices, even when you plug it in, you do not get addresses. I found this with the Unifi Dream Machine Pro. When I plug it in the first time I get an address, but if you unplug it and put it into another WAN port, you do not get an address and the UDM Pro reports no Internet. Or worse yet it uses a self assigned IPv6 address and you get nothing. You can check what WAN IP address you have by the way through services like http://wanip.info to check if you have the right one. And sometimes even with a reboot you do not get a DHCP address.
- Make sure you have a local Unifi Console account. So one problem with all this debugging is that you need to access your Unifi console locally, but this is impossible if you only have Unifi cloud accounts, so before messing with all of this when you still have internet access, go to https://unifi.ui.com login and see your console. Then choose add user and create a local user with a strong password and 2FA. Then when you are disconnected you can navigate to the static IP of your UDM Pro, say it is 10.0.1.1, then just browse to https://10.0.1.1 and make sure that the local login works.
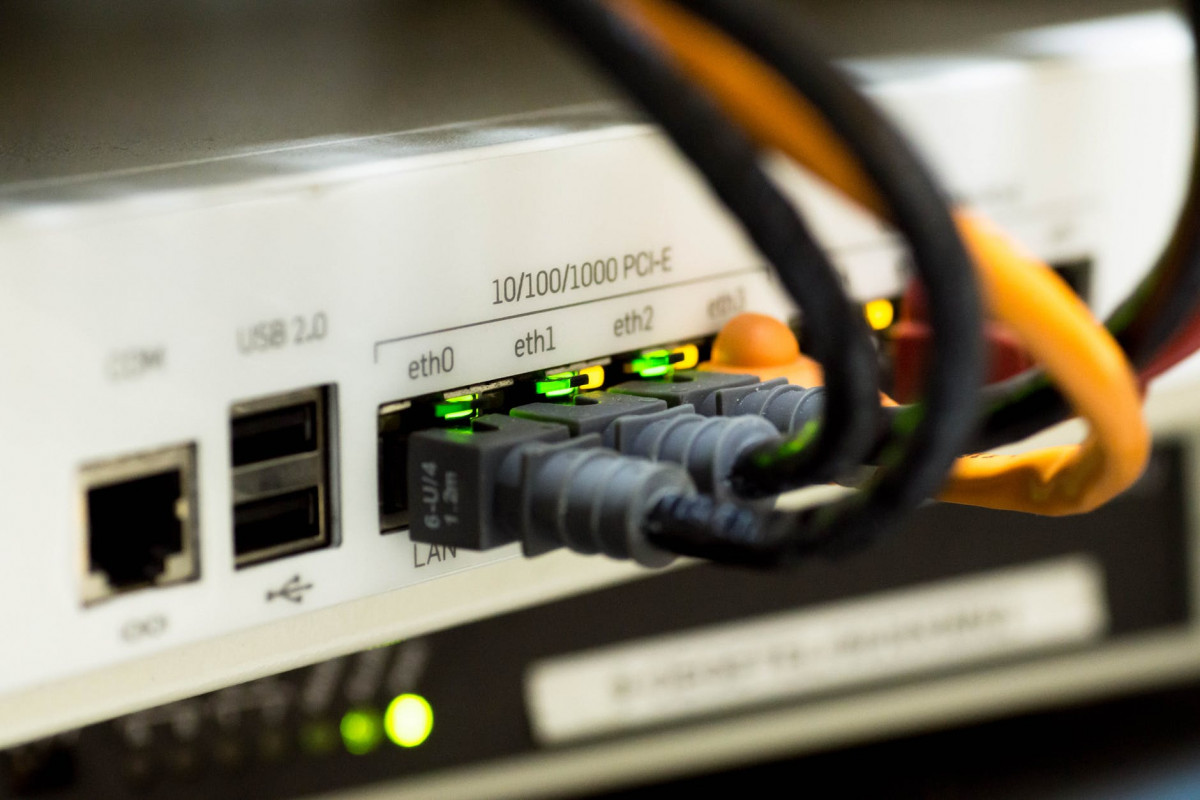
- Buy FlyFiberPro 2.5Gbe, 5Gbe, 10Gbe STP+ modules and set to 10Gbe if you have a Unifi STP+ in UDM Pro module. The UniFi supplied 10Gbe STP+ module does not support the intermediate 2.5GBase-T or 5GBase-T. So for flexibility, you can buy two third party modules which support these. You don’t really need it for this use case, but it gives you more flexibility as the world moves to 2.5Gbe which works over Cat6 and if you ever move beyond 1.2Gbe to say 5Gbe, this is good future proofing. One note is that with the factory 10GBe module autonegotiation does not work with the UBM Pro but does work with the Unifi Switch 48. That was super confusing a required a call. So beware. The third party module I bought does however autonegotiate properly. It basically emulates a 10Gbe module on the Unifi side and then sense 2.5Gbe or 5Gbe on the device you plug in. Also note that these things do not support 1Gbe, so don’t try to plug an ordinary gigabit Ethernet into it. Note that inserting both of these means the gold buckle at the front should be down and then insert and press up to lock it into place. The lock is kind of flaky so do a gentle pull to make sure it is engaged. The way to ensure engagement is to press gentle down on it (as the lock is at the front bottom of the module).
- Create a VLAN on your Unifi Switch 48. Or whatever with you have. A VLAN basically means that you are dividing your router into separate ones. To configure this, you first go to the UDM Pro (the VLAN creation is done at the router level and then propagated to all the switched in your network). But you first create a VLAN only network and give it a name like “Cable” If you don’t, the router will actually hand out DHCP addresses which you do not want. In this case, you just want the traffic from the two cable modem ports to be aggregated and then sent to the SFP+ port on the Switch. By convention, if you are creating real VLANs, make the VLAN id equal to part of the network name, so for instance if you create a guest VLAN at 10.0.2.x then the VLAN id should be 2. In the VLAN only case you do not need this. Just select VLAN only. Now go to the Switch interface and set the Profile for two ports, say port 2 and 3 to “Cable” and set the SFP+ port that you want to use to “Cable” as well, take the two Ethernet 1Gbe cables and connect them to port 2 and 3 and then using a Cat 6 path cable, connect that between the switch and UDM Port 10.
- Reconfigure your UDM Pro with WAN on SFP+ Port 10. The Unifi Dream Machine has two WAN ports by default port 9 is the main WAN and is 1GBe and port 10 is an SFP+ port where you can plug in 1Gbe, 10Gbe or fiber modules. So you need to reconfigure the ports so that port 10 is the main WAN port and then port 8 is the failover port. To do this, go to the UniFi console Devices > UDM Pro > Ports > WAN > Configure Interfaces and then you have to change port 9 to disable and then port 10 you can change to WAN and then port 9 you can change to WAN2. Then push apply.
- Now that it is all wired, you should reboot your router and you should see a new IP address on Port 10 in the Unifi Devices > UDM Pro settings.
- SSH access. You can also check to see what is happening on the Unifi SSH interface. So enable SSH in the Unifi > Unifi Devices > UDM Pro > Settings and give it a complex password. Then you can SSH into the device and run Linux commands, so “ip -4 addr show eth9” will tell you if you have an INET4 address if it is working.
And voila if this is all working, you will up to 2Gbe from an SB8200 and you don’t need to buy the SB8211


