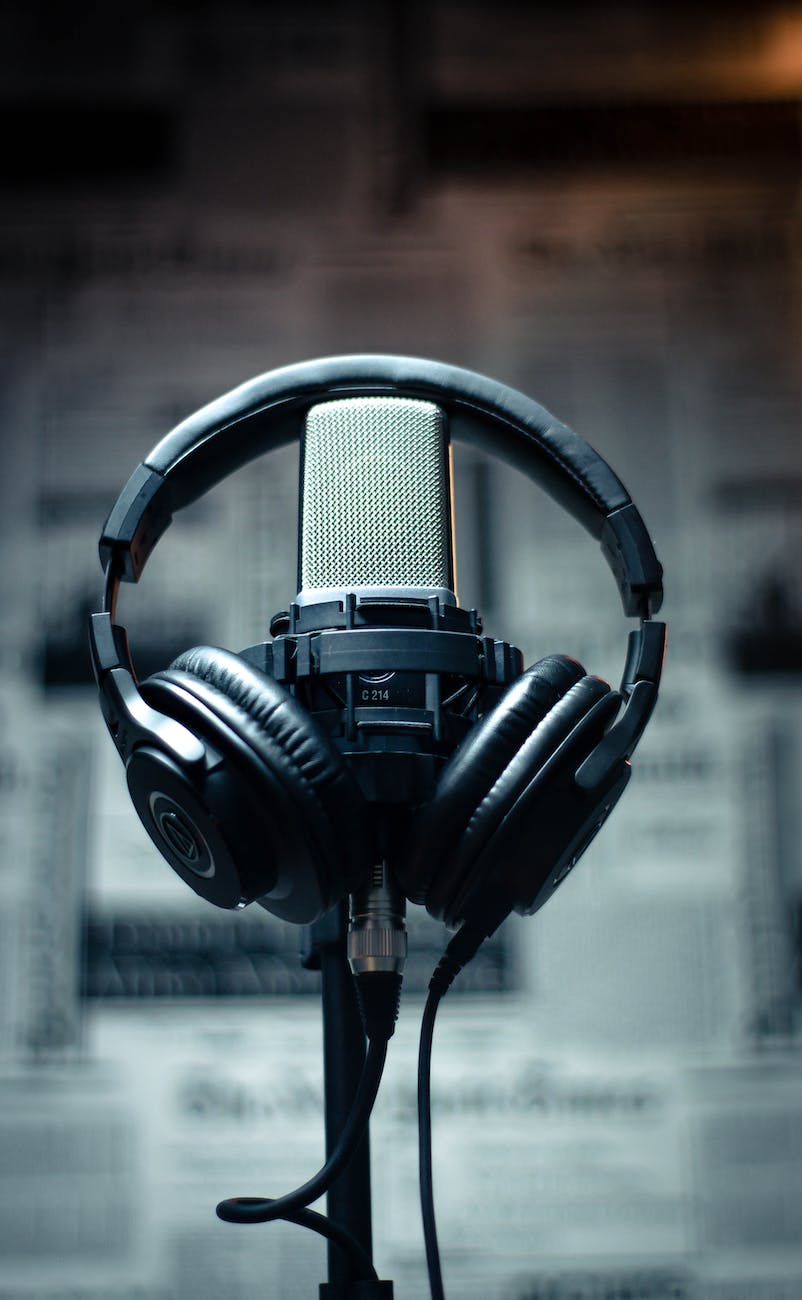
Well, yesterday was a great day of cleaning action items, it was lazy work and exercise time for sure, but one filled with reducing the huge backlog of things that I had been meaning to do. That’s everything from Black Friday (soon to be Cyber Monday!) shopping to figuring out headphone equalization.
Why headphone equalization, well it turns out that with today’s modern signal processing, you can basically correct for all the defects that a sound transducer like a headphone has. Fortunately, there are a sea of hardcore nerds who have done this and with a little geekification, you can figure out how to get a $50 headphone to sound pretty darn decent.
The trick is that there is a host of folks who has been measuring the actual audio output of a headphone or earphones. It’s tricky, but basically, there is expensive gear that you can use to do this. The key has been great work by various folks to figure out the equalization charts. I got started with r/oratory1990 but everyone from rtings.com to others publishes this.
Then the other find is AutoEQ which is software that takes the readouts from those folks and turns it into waveforms and instructions for graphics equalizers. It has profiles for a huge number of headphones.
Does it really make a difference?
Well, I have to say I’m shocked at how off most headphones are. Even the pedestrian AirPods for instance has a curve that looks like it tilts down. So for Oratory1990 measurements, you can see from the thick black line that it rolls off a huge amount at the left (so bass light) and is pretty peaky on the right. So the equalization tries to get it to the light blue, but you can’t push the bass too much, so you get the thin blue line instead. That shows the limits of this because there is not that much bass response (it is quite tinny really):

If you want to see a great $500 headphone out of the box then check the Sennheiser 650 which I have, here you will see the Blackline and the Blue line are close. so out-of-the-box (Black) is really pretty good. Notice that we like a bump around 2-5K (that’s called psychoacoustic). And the bass really rolls off in the raw, where it gets quite a bump in the corrected.

Finally you can see what it does for $100 modest headphones like the Shure SRH-440 which I have and has a huge bass bump that I can hear (good for cool hip hop which is what it is tuned for, but with equalization it is quite close to the HD-650 and it gets rid fo the notch at 3Khz so with a good equalization, you can really make things shine:

Finally, the really nice Sony WH-1000XM3 which I have is really bassy and the blue line shows this. I normally run a five-band graphics equalizer that is part of the Sony application on the phone, but with a Mac, you can really make it pretty close:

Converting the profiles into equalization
There are basically three different kinds of equalizers. The most primitive is what is called a graphics equalizer, this has fixed bands and you push them up and down. Even with five of these bands, you can get good corrections.
But, the better thing is called a parametric equalizer, here you can specify the exact frequency and how wide it is.
Finally, the best since computers are so fast is a convolutional equalizer, this lets you specify a specific waveform that you can use. That is what you really want, but even with basic correction, you get a much better sound.
Implementing all this in a Mac the hard and easy way.
Turns out that on the Mac, this is reasonably a good architecture. Basically, for audio there are Digital Audio Workstations (DAWs), a looping system for plugging audio inputs into outputs and there are plugins placed there that filter the sound. There is a rough guide that is out of date but lays out the order (but doesn’t actually work).
The simplest DAW is Hosting AU which is open source (and you just download it). It picks up all the available system AUs and any that you load. If you load a new AU, you have to restart it. I actually got it working for the basic stuff and it worked.
The simplest looper is Blackhole which supports 2, 16 and 64 channels of routing that you get with brew install blackhole.
Basically, there are plugins called AUs for the Mac and for Windows they are called VSTs. There are huge servers with lists of these plugins like KVR Audio.
The above equalizers are implemented by various third-party “.component” files that you put into /home/rich/Library/Audio/Plug-ins/Components and the appropriate Digital Audio Workstation picks it up automatically
So for instance, you can brew install laconvolver and this load the LA Convolver onto your machine. The main issue with this kind of stuff is that the components need to be signed, so when I tried to run it in I got a message that said it was not signed and it was not clear what to do. Well, it turns out when this happens, I normally go to Finder and click to run it and say its ok, but with extensions like this, it works very differently, you have to go to System Settings > Privacy and Security and there should be a button that says allow and then it will run even though it is not signed.
Get hardware if its too frustrating
If you don’t want to deal with all of this, then you can buy a dedicated DAC that has this kind of profiles already loaded in it like the popular Qudelix which has a parametric equalizer built in.
Using SoundSource on the Mac
The above was super complicated and even when I got there I couldn’t figure out how to get the profiles in AutoEQ into the parameters. So for $39, you can get SoundSource which does it all for you. The only real complexity is that because it is hacking at sound at a low level, you actually have to boot to recovery mode and set the Hard Disk to allow this. This is pretty scary. (YOu can also get an academic discount if you are a student).
Also, you have to enable the extension in the main system as well. This can be done on the command line with spctl, but it is not super friendly to figure out how each extension is mapped to a rule.
The usage of this is a little unclear, but basically it is a menubar application and you click on the output arrow on the right and can add an effect called Headphone EQ, then you can select the profile and it does the rest. Way easier than figuring out the above with Hosting AU, Blackhole and LAConvolver, but it is loaded if I need it.
What to do on an iPhone
On an iPhone it is completely sandboxed so you can’t just do this, instead, you have to use a media player like Neutron which costs a nominal $8. Even then you can only play non-streamed and non-DRM content like MP3s, so you are back to the world of copying things. It sure would be great is Apple did something like this.
Ambiophonics
Now this sloping curve isn’t flat and there are all kinds of different equalization and fancier things like Ambiophonics that attempt to recover the original stereo sound source. So there are all kinds of VSTs that you can plug into a mixing app to make this happen.


