Man, this is such a complicated topic that I’ve talked about before. But to review, if you are like me, you have a whole box full of cables and they all look more or less the same.
Here’s a decoder ring and recommendations for what to do which is basically to make a shoebox and label things, but some things to remind you of:
- The cables with the fat USB A connector at the end work completely differently than the new USB C connectors. The first is that the fat end is the “host end”. Even if you put a USB A to USB C adapter on it, the power flows from that side (so don’t be confused like me if you stick an adapter on there and wonder why there is no signal).
- For these older cables, USB 2 Superspeed runs at 480Mbps and there is an incredibly confusing array of names, but USB 3.0 runs at 5Gbps and that’s the faster you can get with the older connectors
- The power of these older systems is defined by what the power charger can put out and what the downstream device can use, so the standards are 5W, 10W, and 15W, and then 9W and 18W. This was called USB Battery Charging (BC) which worked up to 25W in 5W and 9W steps. But then the world blew apart with lots of proprietary ways to go beyond that.
- Then came the idea of Power Delivery as a standard which was some way to negotiate all these voltage and amperages, so USB Power Delivery arrived, the first Power Delivery 1.0 on USB A offered up to 100W or 5A at 20V. But in most cases, it’s easiest just to quote the maximum, since chargers typically offer all the other lesser wattages.
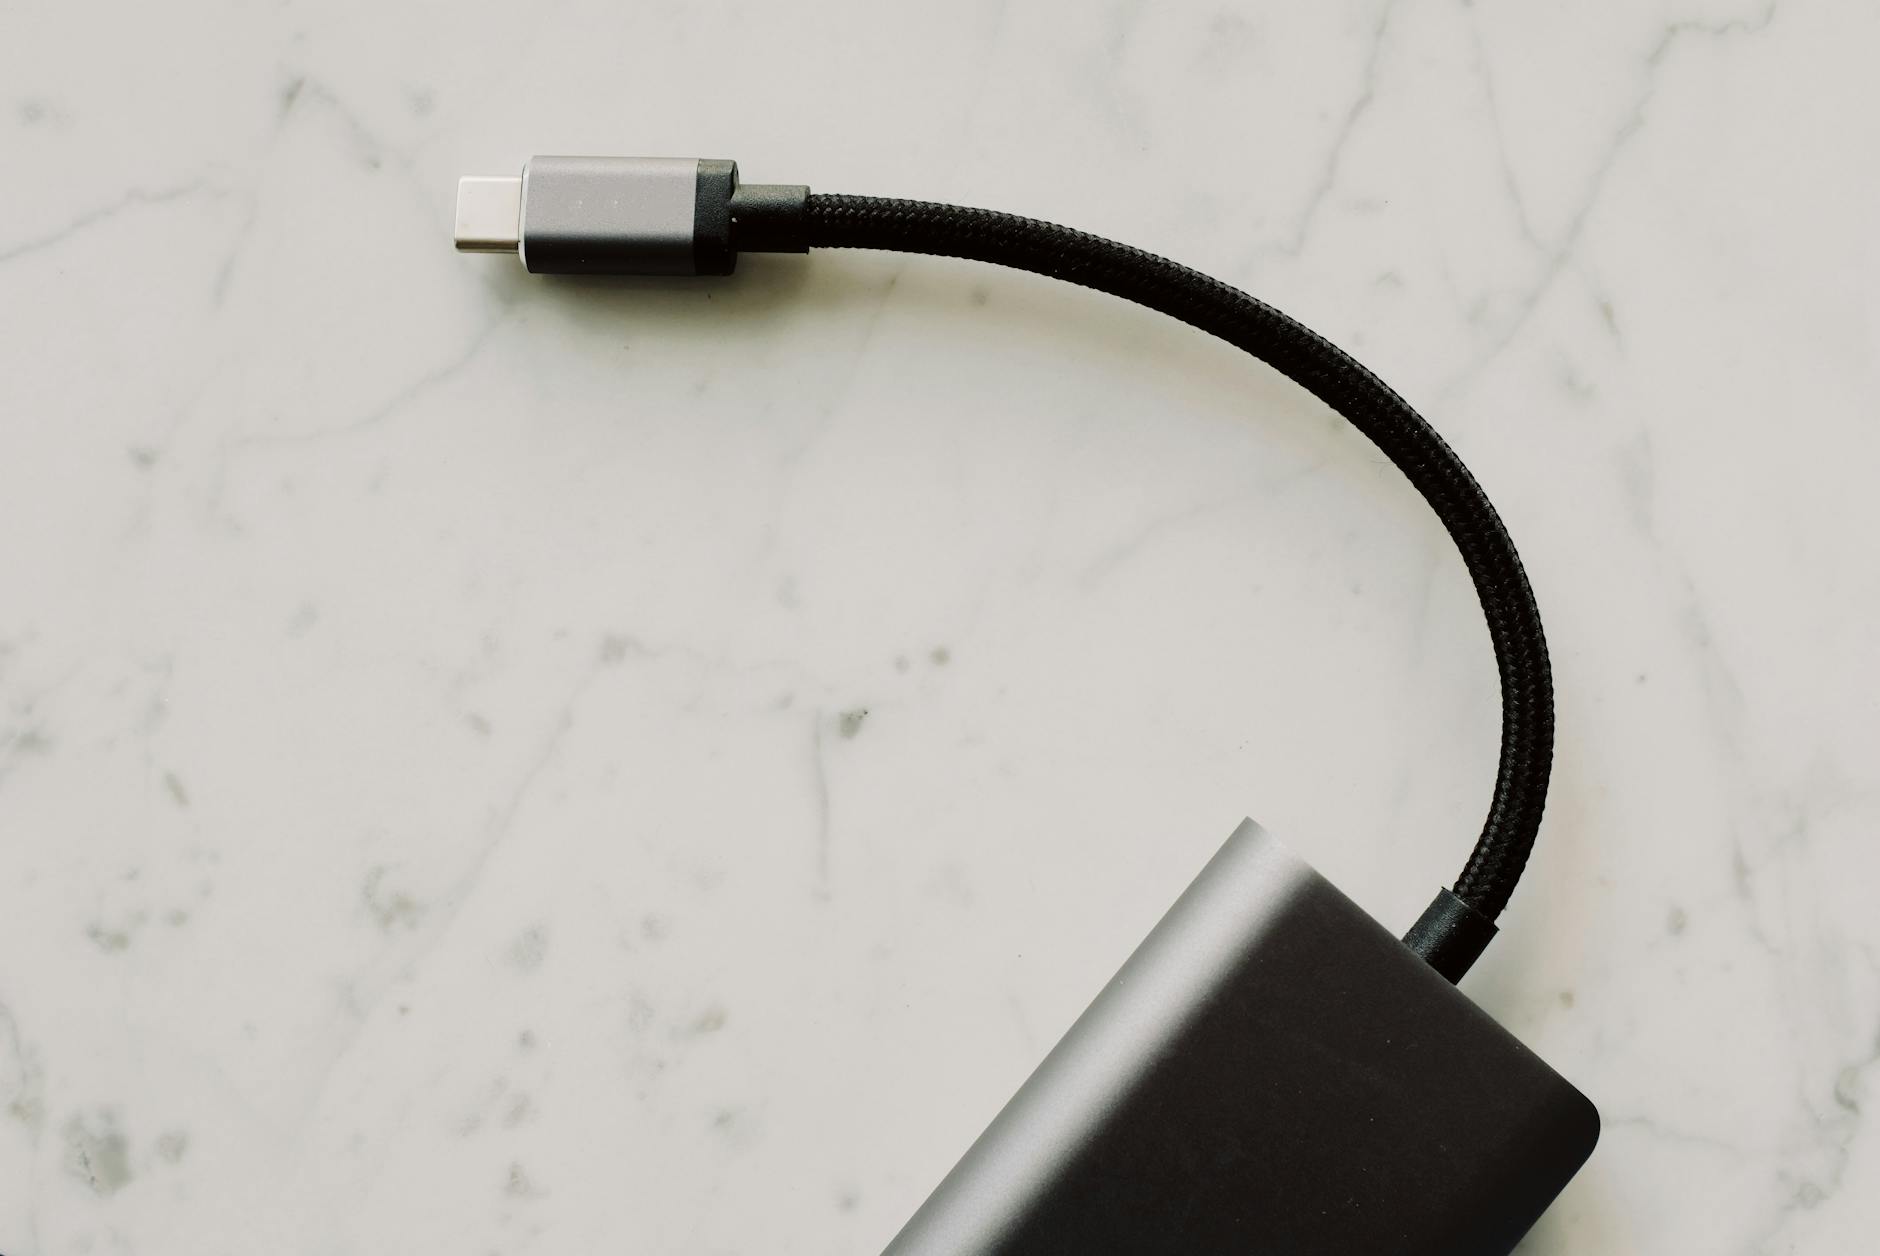
- The new USB 3 has USB C on one side have an incredibly confusing array of things going on. First, they are intelligent cables with chips buried inside and up to 24 cables inside them. When the two devices connect, they negotiate both how much power and how much data they can support.
- So with USB C cables, you can have Power Delivery 2.0 and 3.0 that offer up to 100W and then there is the new Power Delivery 3.1 with up to 240W. The trick they are using is increasing the voltage while keeping the same 5A of power and by math, you can see the voltages supported are 5V, 9V, 15V, 20V, 28V, 36V, and 48V then multiply by 5A to get the maximums. The new standard even lets devices ask for another voltage, so if you need more power, you can ask for it and then turn it down when charged.
- Then there is the data carried on the cable that has an array of names that are incredibly hard to understand, but USB 3.0 used to be for USB A connectors and USB 3.1 Gen 1 was for USB C connectors and both ran at 5Gbps. They in all their wisdom blew those names away and they are called “USB 3.2”. Which is unbelievably confusing.
- Then there is a 10Gbps level that was called USB 3.1 Gen 2 and is now called USB 3.2 Gen 2. That is more than confusing
- Finally, there is a new standard called USB 3.2 Gen 2×2 which will be 20Gbps, but this is not in the wild yet. Thank goodness. What you realize after reading all of this is that knowing the rate of speed is way more edifying than the constant change in names.
One problem is that there are lots of counterfeit cables around with bad chips, and you can imagine how bad it would be if your phone asked for 15W at 5V and instead got shocked with 48V. So, you are supposed to look for a confusing array of logos on the box that will tell you what you have. Of course, I’m pretty sure if you are buying counterfeit cables, they have copied those, so try to stay with reputable vendors (e.g., not everything on Temu is going to be good for your laptop). In fact, I’ve lost an entire set of Thunderbolt ports by plugging a bad cable into my MacBook Pro 2016. So, hat tip to How To Geek, but I’ve never actually found these logos on packages too often. And let’s face it, they are pretty ugly. 🙂

- Thunderbolt and USB 4. The easiest way you can tell if you have a real cable is that there is a little thunderbolt icon on real cables. The other new standard is USB 4 which is Thunderbolt but without the need to license proprietary chips from Intel plus some other small differences in minimum voltages and so forth.
- The good news is that Thunderbolt 3, 4 and USB 4 cables should all work at 40Gbps for cables 1 meter or less. Then you can get passive cables at up to 2 meters that run at 20GBps. With active cables and Thunderbolt, you can get up to 2 meters, but these cables are rare.
- These Thunderbolt cables also support USB Power Delivery 3.0 up to 100W and right now USB 4 is at the same level, so another incompatibility with USB 3.2 is that it uses Power Delivery 3.1 at 240W. Confused yet.
How to figure out what you bought? System Information is your friend
Well, the problem is that as soon as I get a bag of cables, I break it down, throw out the box, and in about 10 minutes have no idea what is required by my shiny new device and what the cables can provide. So here are my recommendations. It takes about an hour with a label maker, but believe me, you will appreciate it:
- For every device that you have look at the specification (if it’s a computer) or just measure it with a USB power tester to see what it draws.
- Then connect each device with a “big” cable like a USB 4/Thunderbolt cable and see what data protocol it is running. You can either turn search on your Mac and search for “System Information.app” or go to the Apple > About this Mac > More Info > System Report. Then go to the USB or Thunderbolt section and look for your device. You will see the speed it is running in the lower pane when you click on it. This is how I figured out that a Logitech BRIO, as an example, draws 2W and runs at 5Gbps (USB 3.2 Gen 1 or USB 3.0 or USB 3.1 are all names on cables for this same spec!). Needless to say, instead of using those names, I put a label that says “5GBps/2W” on the back of the BRIO. Do this for all your devices as most people don’t quote it.
- Then for each cable, find a big ass USB C Charger, the biggest one I have supported up to 140W, then connect the cable in and plug it into your Mac, go to System Information, and click on Power. You will have to do a Refresh to get the latest and you can see what the charger thinks it can send.
- Now take that same cable and connect it to a hungry-for-data device. I use my iPad Pro which I know loves 10GBps. It is not Thunderbolt, but it is USB-C 3.1 Gen 2 (aka 10Gbps) so it’s a good test. Alternatively, get your Thunderbolt power hard drive like my ZikeDrive Z666 which supports up to 40Gbps and everything in between. Now go to System Information hit refresh find the device in either the USB or Thunderbolt section and see what data rate is available on that cable. For many cheap cables, this is capped out at 480Mbps (the old USB 2 speed) but with lots of power like 60W or 100W, so then put a label on your cable that is “480Mbps/60W/2M” if it is 480 MBps, 60W and 2 meters long. Before you know it you will have a nice pile of “power cables”, that is those that are capped at 480Mbps, a smaller pile of “data cables” running at 5Gbps or 10Gbps typically with 60 or 100W and, if you are lucky (like me), you will have a tiny pile of the latest cables which are 40Gbps, 240W and 2 meters long. These are going to be big ugly had thick, but useful.
What to do with your Micro USB, USB C to USB A cables
Most USB chargers won’t support fast charging for Macs, often providing only a minimal charge. Also, data transfer speeds across these USB connections are generally not very fast. However, some devices, like the BRIO, come with cables that can transfer data much quicker.
And yes, Dean, I’m happy to come over and we can have a device and cable labeling party.


You must be logged in to post a comment.