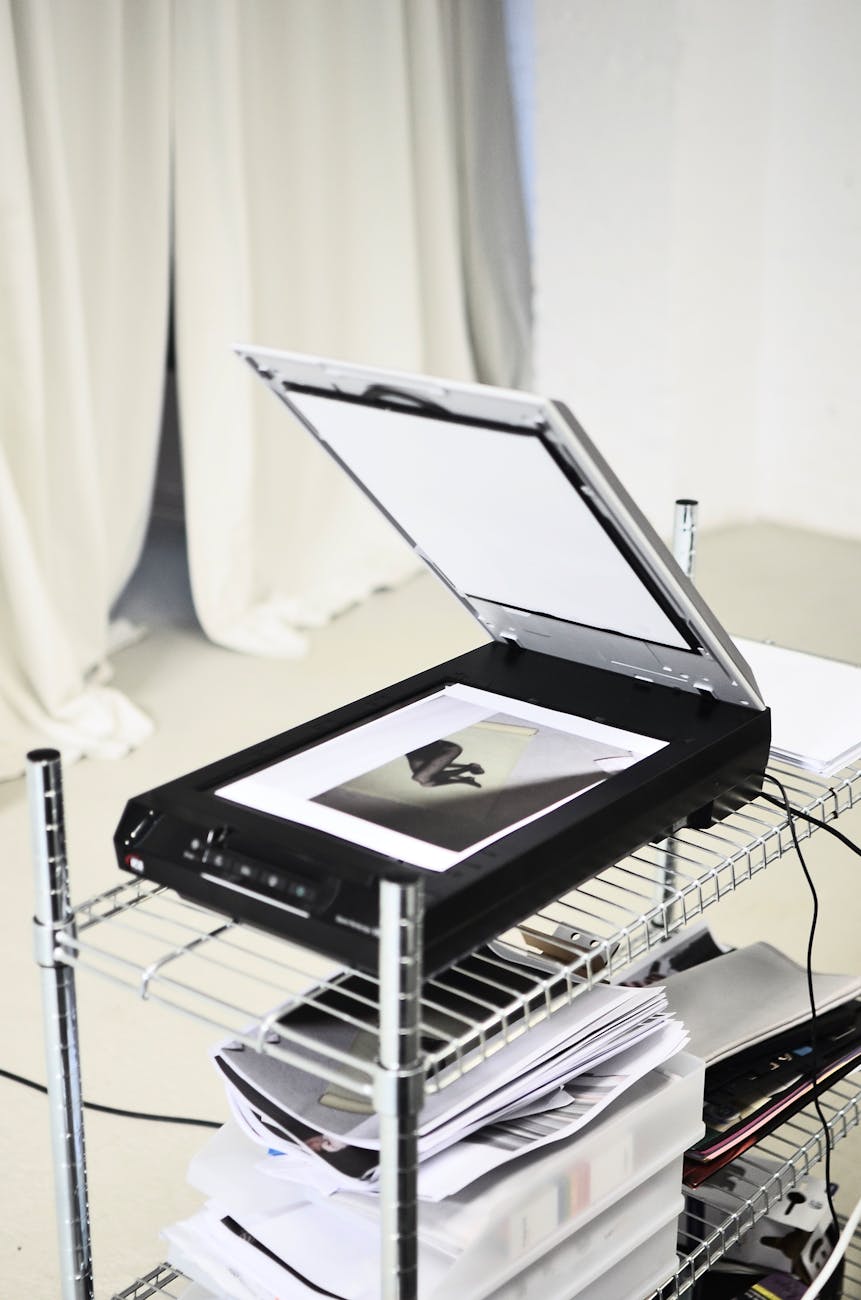
Another day, another dollar. As you know, I got a new Plustek OpticFilm 8200i and I had to learn the new SilverFast AI Studio and also GIMP so I can now export to 10-bit HEIC. The last time I tried HEIC, Preview wouldn’t generate it in 10 bits, darktable would not as it is using a proprietary codec, but GIMP was just about there supporting the latest libheif (more on that later). Net, net, I got it all going:
- First of all the confusion with orientation. Here is what I learned, turn the film negative, so the shiny side is (and what is called the emulsion side is down). Look at the tiny letters and frame numbers and they should appear correctly (that is not inverted or reversed).
- Load the OpticFilm 8200i so that the leftmost frame is in the scanner position. That is the film holder should stick out a lot to the right.
- Now start SilverFast AI Studio and you get a Start button and make sure the correct scanner is chosen. You don’t want to use their simple “Workflow Pilot”, so select their advanced one.
- Now make sure all the buttons are so click on iSRD (infrared detection of scratches on the negative), and SRDx (Scratch Reduction that doesn’t use the infrared. I’m confused if you should have both on, but I did and it didn’t seem to make a difference, AACO (Auto Adaptive Contrast Optimization), GANE (Grain and Noise Elimination) and ME (multiexposure) on. You flip these on manually in the left pane, there is a little checkbox icon at the upper right of each one of the property panes.
- I also set the scanning resolution to 7200 dpi even though most of the photos I’m scanning are taken probably from Instamatic cameras with resolutions much less than that. 7200 dpi translates an awesome resolution, but storage is cheap.
- I set the scan to 48bit. They have 48bit HDR RAW which seems pretty close to the Vuescan RAW mode. It is the exact format that is coming out of Silverfast.
Then you just click through each frame and I do:
- Do the prescan and then the Auto button
- One annoying thing is that when you do this properly and have the film set as recommended Silverfast incorrectly flips the output so everything is reverse, so choose Rot/Flip and the Flip Vertical. This is not sticky, so you have to everytime.
- Then use ⌘-F for Fine Frame to figure out where the image is (it may also be slightly skewed because it’s film). If it looks too bad, you have to take the holder out and align it so that the spaces between the frames and not visible and you only see negative data.
- The Histogram is useful to check to see how exposure is, but Silverfast has been doing an awesome job of that. The main thing I find is when film looks underexposed. Fixing it is not obvious, go to the Histogram and adjust the number in the middle that is labeled N. This is the midtone and moving it to the right increases the brightness of the image.
- The main problem I’ve had is color cast, because old film may be too green for instance, then go to Global CC and click on the six color buttons, so if is too green, click on the opposite side (sort of a magenta color). Note that seems to be sticky, so check it each time.
- Finally when you are long press on the Scan button because you don’t want the default, you want Batch Scan which is a much nicer interface. I normally turn on Scan date (which SilverFast sticks at the front of the filename).
- The trick is the file naming, choose Sequential Advanced and create a file name, I normally pick something with the date of the photo, the people in the photos, the location, the film type, and any film identifiers from the processors. The reason is that all operating systems don’t care about really long names and it makes checking the data easy you can file search to say find all photos of your mom (assuming you remember her name 🙂
Now that you have your shiny image, you start up GIMP and:
- If you care to say save 20% of your disk, open the TIFF, choose File Export, and click OK, it will ask if you are replacing the original file, you say yes, then comes a dialog of TIFF options, the most important of these is which compression: None (really bad), LZW (the normal default), Deflate (this is the neutral name for ZIP), Packbits (they say good just for black and white), JPEG (confusing this is supported, in which case the whole point of TIFF is lost as this is lossy, so don’t pick it).
- You can do a check for is better, but in my test, as file that is 311MG in LZW is 251MB in ZIP, so I normally if I have time do this step.
- But the real point of this is to do another Export and not edit the file name (I know strange right) and change
.tifto.heicand it detects you want HEIC which is the more modern format that Apple is using, this allows up to 12-bit HEIC, so alot more colors, but Apple seems to only like 10-bit. - You can play with the compression amount, but I find that 95% works really well for film scans. Note that Less for really grainy film that didn’t have Grain Reduction on (because the grain creates lots more data) and you end up with 5-10MB for a 35mm film at 12-bit color. Not bad! But I did a quick experiment to see what the effect is. What I found is that for a 169MB JPEG scanned at 4800 dpi or so, for libheif at 12-bit, the curve looks like the table below and picking something in the 70-80 range is actually pretty good. Since I’m using TIF as the format for archiving, I want a convenient size for sending to friends, so 70 is actually about right. And 60 is really if this is going into email etc. I typically keep it at about 80 for this reason and spot check to see if the files are too small, then bump to 90. Going about 90 really doesn’t make much difference as as you can see, but of course, this varies by image. I picked one intentionally that had a bit of detail in it.
| HEIF Compression (1=heavy, 100=lossless) | File Size | Compression Ratio |
| Near Lossless | 47MB | 3.5x |
| 97 | 15.9 | 10.6x |
| 95 | 15.9 | 10.6x |
| 90 | 15.2 | 11.1x |
| 80 | 11.8 | 14.3x |
| 70 | 7.8 | 21.7x |
| 60 | 4.1 | 41x |
Now with two compressed images add meta data
Now you need to add the metadata for both which is the location and the time of shooting. Since you are dealing with analog, it is hard to know these exactly, but the main trick is to load up GeoTag and then guess the locations and dates.


